AI video tutorial
A practical guide to how to make faceless youtube videos with ai
Learn how to make faceless youtube videos with ai by combining a clear idea, a useful script, supporting visuals, narration, and deliberate editing. This workflow helps you move from concept to publishable video without appearing on camera.
Numbered steps
A reliable faceless video workflow separates planning from production, so each decision has a clear purpose before you move to the next stage.
-
1
Choose one focused promise
Start with a specific audience and outcome. Replace a broad topic such as productivity with a useful promise such as three evening habits that make tomorrow easier. A narrow premise gives the script, title, visuals, and thumbnail a shared direction.
-
2
Build the story and assets
Draft a short hook, explain the main points in a logical order, and finish with a clear takeaway. Then gather or generate narration, b-roll, screenshots, diagrams, background music, and captions that directly support each line.
-
3
Edit for attention and clarity
Match visual changes to the narration, remove pauses, emphasize key words with captions, and check that every scene earns its place. Export a clean version, review it on a phone, and prepare a title and thumbnail that deliver the same promise.
Prerequisites
You do not need a camera or a studio, but a few decisions and assets will make the production process much smoother.
-
A defined YouTube audience and one specific video topic
RequiredChoose one viewer problem or question.
-
A short outline with a hook, supporting points, and conclusion
RequiredA simple structure is enough to begin.
-
A writing or video tool that can help generate drafts and scenes
RequiredReview every generated result yourself.
-
A narration plan, such as your own voice or a licensed synthetic voice
RequiredUse a consistent tone across the channel.
-
Visual source material with permission to publish
RequiredCheck licenses for stock footage, music, images, and fonts.
-
A thumbnail concept and working title
OptionalThey can be refined after the first edit.
Choose the right starting point
The same workflow can be adapted to different formats. These related guides help you choose a production route before you write the next script.
From rough draft to watchable cut
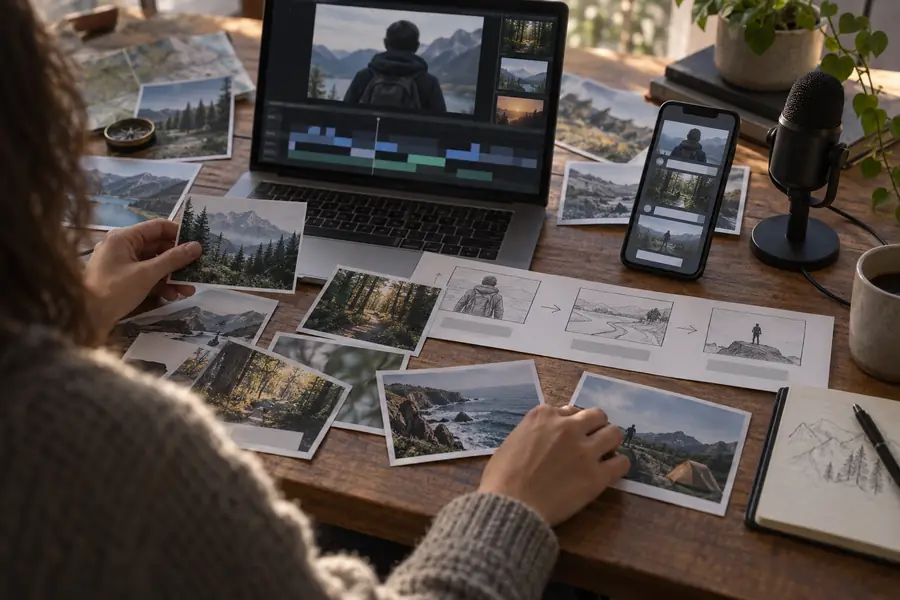
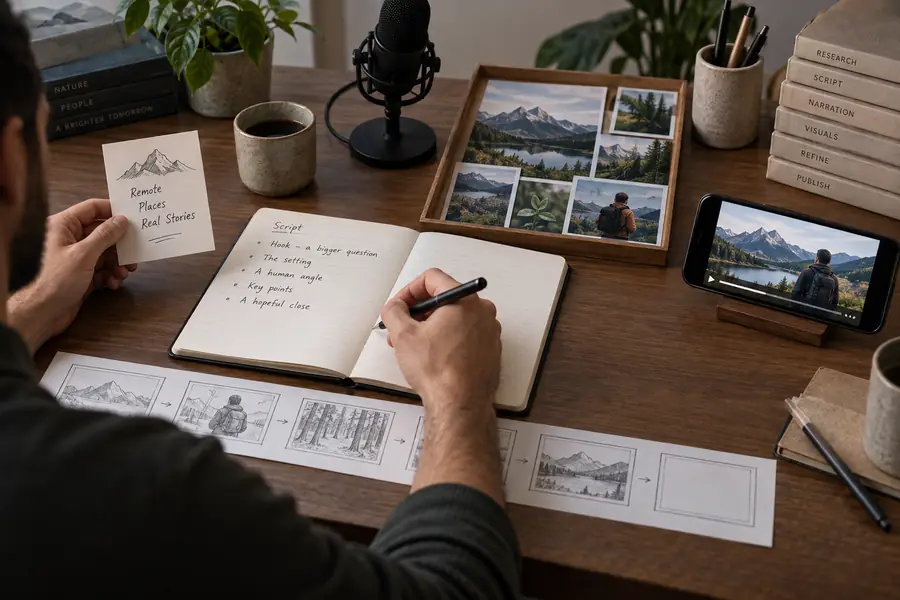
The biggest improvement usually comes from alignment: the narration, visuals, captions, and packaging should all reinforce the same idea.
- Rough draft
- Publishable cut
Replace disconnected clips with purposeful visual beats, readable captions, balanced audio, and a thumbnail that matches the opening promise.
Advanced tips
Once the basic process works, improve consistency rather than adding complexity. A recognizable system makes each new faceless video easier to produce and easier for viewers to understand.
-
Create a repeatable visual system
Choose a small set of fonts, colors, caption treatments, transitions, and framing rules. Consistency makes a channel feel intentional even when topics change.
-
Write for the ear, not the page
Use short sentences, concrete examples, and natural pauses. Read the draft aloud before generating narration so awkward phrasing does not become an editing problem.
-
Design retention moments
Add a meaningful change in visual, question, example, or emphasis whenever the explanation shifts. A new shot alone is not enough; the change should help the viewer follow the idea.
-
Connect title, thumbnail, and opening
The title and thumbnail should create one clear expectation, and the first seconds should immediately confirm it. Avoid promising a result that the video does not deliver.
-
Use audience signals carefully
Compare retention drops with the exact scene, sentence, or transition where viewers leave. Improve one variable at a time instead of changing the entire format after a single upload.
Common errors and fixes
AI can accelerate production, but it does not replace editorial judgment. These limits are normal parts of the workflow, not reasons to abandon it.
-
Generic scripts sound interchangeable
A tool may produce fluent wording without a distinct point of view, useful examples, or a strong reason to keep watching.
WorkaroundAdd a specific audience, original examples, supporting evidence, and a clear opinion before generating the final narration.
-
Generated visuals may be inaccurate
AI imagery and stock searches can show the wrong object, label, hand position, date, or technical detail.
WorkaroundInspect every important frame and replace anything misleading with a screenshot, diagram, licensed clip, or simpler visual.
-
Synthetic narration can feel flat
Even clean audio may lack emphasis, pacing, and emotional variation, especially when the script has long sentences.
WorkaroundRewrite for speech, add punctuation and pauses, and use your own voice or a carefully selected licensed voice when nuance matters.
-
Automation does not guarantee channel growth
A well-assembled faceless video can still miss its audience, compete in a crowded topic, or fail to earn a click.
WorkaroundStudy viewer questions, improve the packaging, publish consistently, and use retention feedback to refine the next video.
Tutorial FAQ
These answers cover the practical questions that usually come up when starting an AI-assisted YouTube workflow.
Choose one audience, one topic, and one clear promise before opening a generation tool. Then outline the hook, main points, examples, and conclusion so the AI supports your plan rather than deciding the whole video for you.
Yes. You can combine a written script, licensed stock footage, screen recordings, generated visuals, captions, music, and synthetic narration. You still need to review the assets, confirm usage rights, and make editorial choices before publishing.
Make it as long as the idea requires, not as long as a template suggests. A focused explainer may work in a few minutes, while a tutorial needs enough time to demonstrate each step; remove repetition and unsupported filler.
Give each video a specific point of view, use concrete examples, and vary the visual treatment when the subject changes. Build a recognizable channel style, but do not reuse the same hook, scene rhythm, or generic narration for every topic.
Watch the complete export with sound and captions, verify names and facts, inspect the first seconds, and confirm that every visual, track, font, and voice is cleared for use. Also check that the title and thumbnail accurately represent what viewers will receive.